


Decor Gifts and More
Green Forest Natural panoramic wallpaper, Vegetal landscape Wall paper with Handdrawn Forest, Bushes in Nature Green for Kids
Impossible de charger la disponibilité du service de retrait


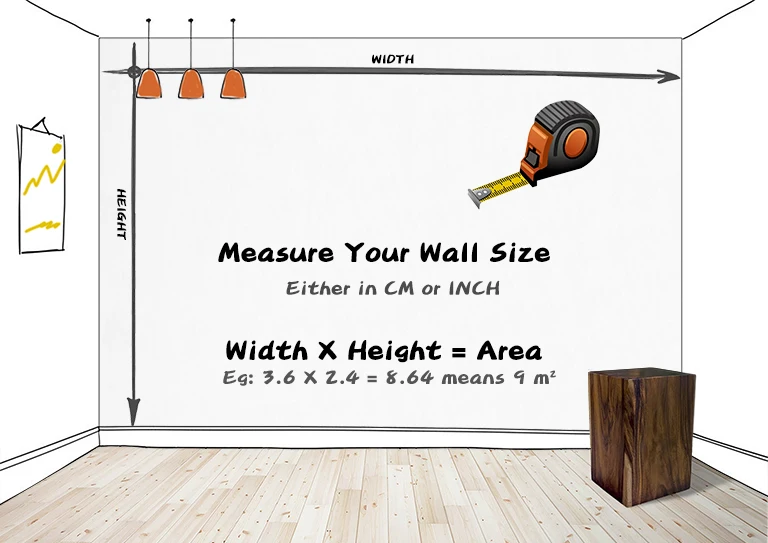


What size is our wallpaper?
The wallpaper panels are made with a width of 50cm(19.7").
What material is our wallpaper printed on?
Non-woven fleece (130gr/sqm)
The fleece material is composed of cellulose and polyester fibres and the appropriate bonding agents. The material does not contain any hazardous substances and is biodegradable. A fleece wallpaper provides numerous benefits for the end user:
Patches up fine hairline cracks or cobweb-like surface cracks
Flame-retardant in accordance with DIN 4102, B 1
Dimensional stability during attachment
Can be affixed immediately without soaking
Enables wall pasting preparation as pasting the reverse side of the wallpaper is possible
Easy and quick redecoration because it can be stripped off when dry

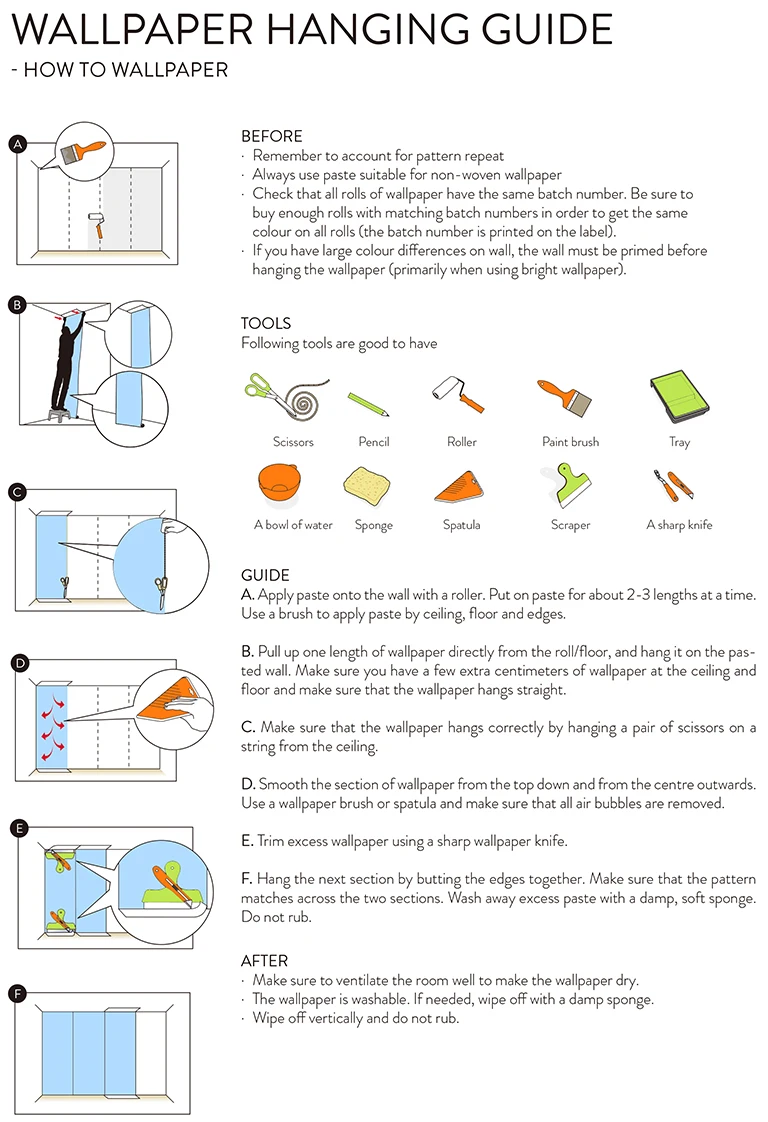
How to apply our wallpaper?
STEP 1: Prepare the wall surface
Your wall must be completely flat, clean and dry. Levels rough surfaces, rough, holes and uneven spots.
Your wall should be a uniform color. If not, you may notice differences in color on your wall once installed. If your wall has multiple colors, we recommend that you paint again.
Make a vertical line with a plumb line on the left edge of the area you want to cover with the mural. If you have a plumb, one can make your own by tying a heavy object on the end of a rope. This line is very important because it is the guide to start placing your mural.
STEP 2: Prepare the wallpaper
The wallpaper panels are made with a width of 48.7 cm(19.2"). Panels are received printed continuously on a roll and numbered at the top.
Cut independent panels and do a preview on the ground following the numerical order from left to right.
Measure with a meter the height of your wall. If it's less than the photomural, you must cut it to fit properly. Do it while you have it on the floor but leave a margin of an inch to correct any differences in level on the wall.
STEP 3: Prepare the glue
You may buy the glue from your supermarket, confirm it's for non-woven wallpaper use.
Prepare the glue following the instructions on the bag of the glue you bought. Do it slowly. So you will obtain a uniform mixture and without bubbles.
STEP 4: Attach the paper to the wall
Applying glue on the wall evenly using a brush or a paint roller. Start distributing from the line you marked as a guide to the plummet. Don't paste the entire wall, do it only in the area that will cover the first panel on the left, leaving a few inches outside the right.
Apply the first panel of the mural on the wall starting at the top left. Check that is aligned with the guide.
Presses against the paper with a dry roller or sponge to remove any air bubbles.
Place the following panels in the same way in numerical order. The panels must not be mounted on each other but are set on edge.
Clean the excess glue with a damp sponge.
STEP 5: Finishing
With the help of a ruler and a cutter, adjust the sides and the top and bottom of the wall if necessary.
Let dry 24 hours; you will get a perfect final result.


